What are the best materials for a durable outdoor patio in the Hampton Roads climate?
Enjoying an oasis outside your back door in Hampton Roads means choosing materials that stand up to humidity, salt air, and summer storms. Outdoor Patio Hampton Roads installations need to balance strength, aesthetics, and ease of care so you can entertain friends, relax with family, or simply soak in the coastal sunset without fretting over cracking or discoloration. Selecting the right hardscape ensures years of enjoyment rather than months of patchwork repairs. This guide dives deep into weatherproof pavers, concrete patio options, and natural stone selections that thrive where sea breezes meet sultry summers.
What are the best materials for a durable outdoor patio in the Hampton Roads climate?
Outdoor Patio Hampton Roads projects demand materials that handle heavy foot traffic, freeze-thaw cycles, and salt spray without losing their charm. In this region, durability hinges on moisture management, UV resistance, and flexibility under shifting soils. Whether you lean toward interlocking systems or monolithic slabs, the factors driving material choice often overlap: longevity, maintenance needs, cost, and visual harmony with coastal landscapes.
Patio material selection starts with understanding local weather patterns—humid subtropical conditions with moderate winters and scorching summers. You want a foundation that resists warping and erosion while complementing lush plantings and well-planned irrigation. A perfectly installed surface sets the stage for hardscape walls, fire features, or built-in seating to come together seamlessly.
Installation expertise is just as critical as material choice. Proper base preparation, including sub-base compaction and grading, prevents water pooling and frost heave. Tailoring your design to accommodate expansion joints and plastic edge restraints further safeguards against unwanted shifting and cracks over time.
A holistic approach also considers your backyard’s purpose. Do you entertain often, add an outdoor kitchen, or build a fire pit platform? A robust patio must integrate site drainage, irrigation, and lighting plans from day one to ensure your vision stands resilient against coastal challenges.
Material Selection Factors
Before diving into specific materials, keep these criteria at the forefront:
- Weather resistance: Can the surface endure sun, rain, and salt without spalling?
- Load bearing: Will it support furniture, grills, and gatherings without cracking?
- Slip resistance: Does the texture prevent slips when wet?
- Maintenance: How often will sealing or cleaning be needed?
- Aesthetics: Does the color and pattern align with your home’s architecture?
Balancing these factors will help you choose between weatherproof pavers, a classic concrete patio, or the timeless elegance of natural stone.
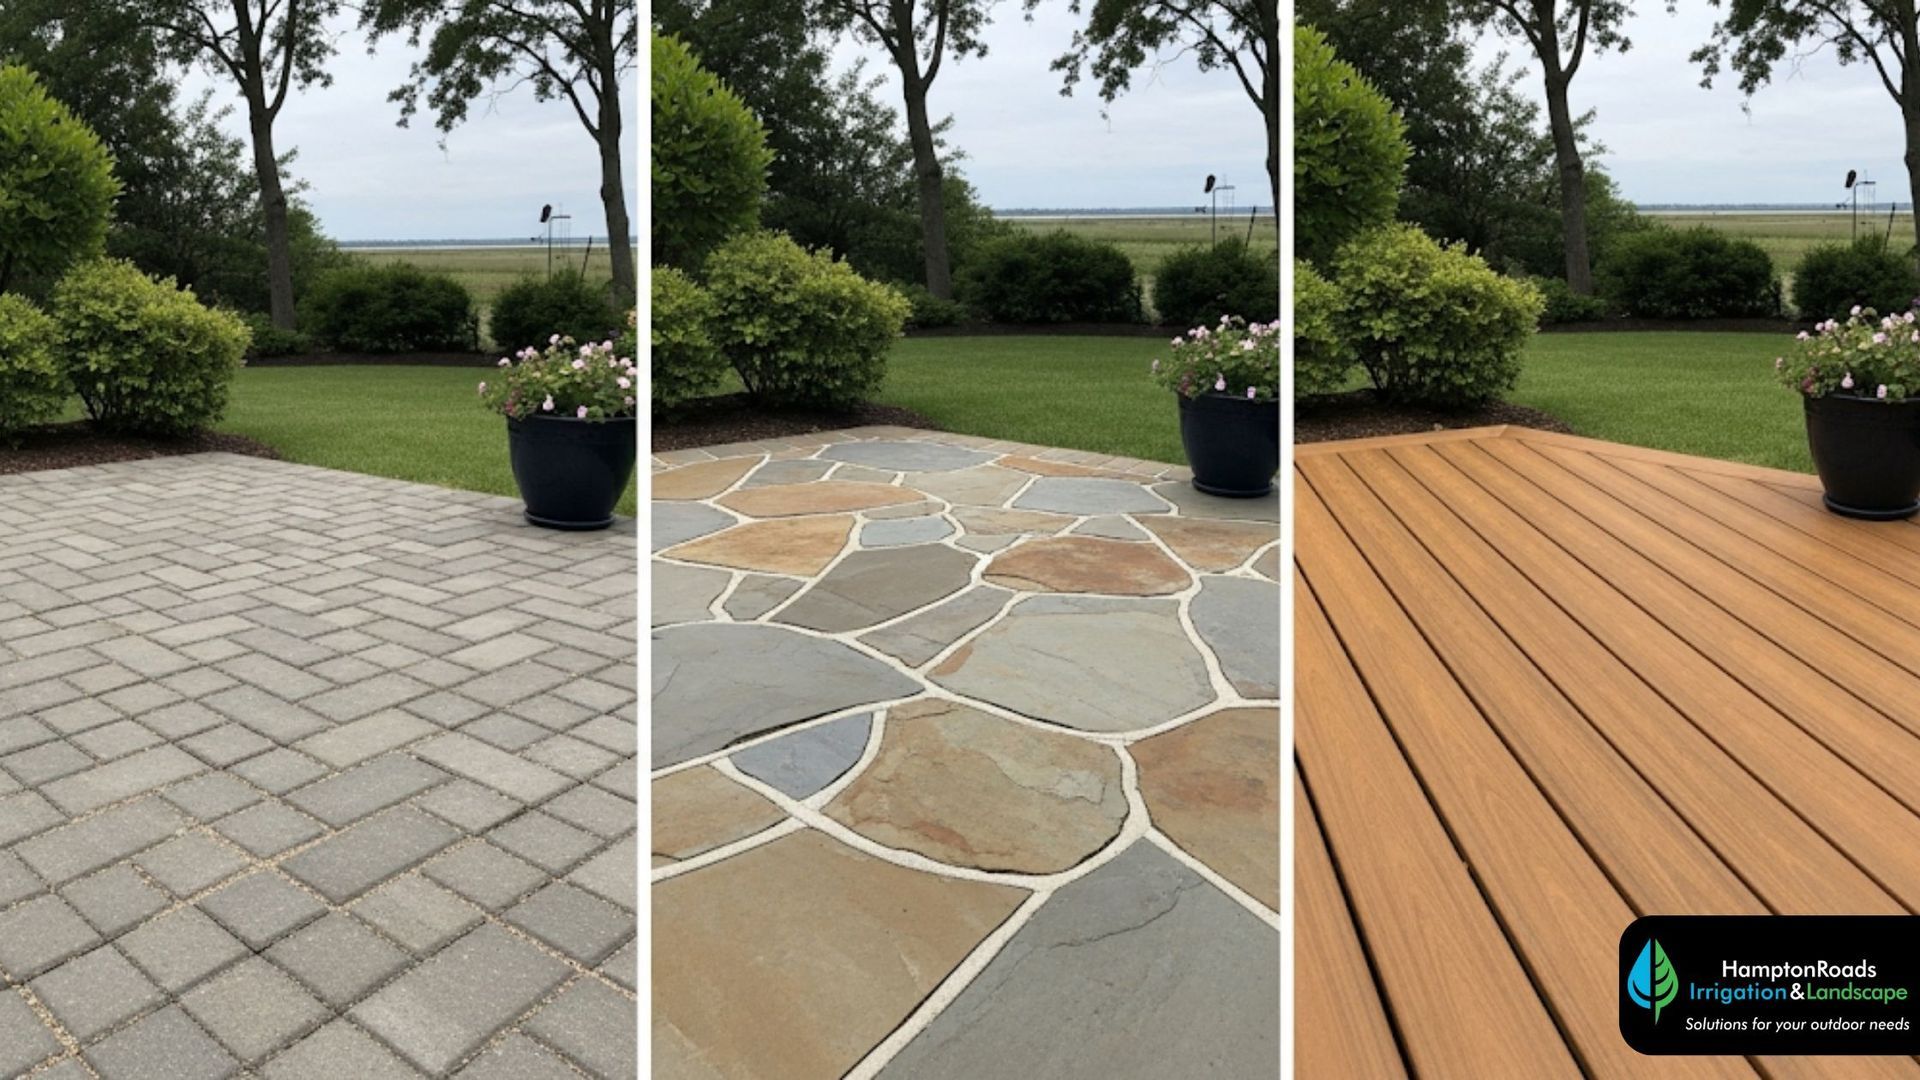
Concrete Pavers
Concrete pavers are molded, kiln-cured blocks composed of cement, sand, and pigments that deliver consistent color and shape. Their modular design lets each unit expand or contract independently, dramatically reducing the risk of large cracks common in poured slabs. With interlocking patterns like herringbone or basketweave, concrete pavers can adapt to any design palate.
Installation starts with a well-graded bed of crushed stone, compacted to form a sturdy sub-base. A layer of coarse sand on top cushions paver placement and aids in leveling. Once set, polymeric joint sand is swept into the gaps to lock pavers in place and inhibit weed growth. Proper edge restraints maintain alignment under load, ensuring a uniformly flat surface.
Concrete pavers shine in freeze-thaw climates when installed correctly. Each paver shifts slightly with soil movement, preventing the large fissures that plague rigid slabs. They also withstand heavy furniture, foot traffic, and occasional vehicle loads without losing integrity. Cleaning is simple: periodic sweeping and pressure washing followed by resealing every few years preserves the original hue.
Design flexibility is a key advantage. Concrete pavers come in myriad colors—from earthy terracotta to slate gray—allowing customized layouts that coordinate with plantings and architectural elements. Pattern variations add visual interest, whether you prefer classic running bond, circular motifs around fire pits, or grid patterns for a modern look.
Outdoor Patio Hampton Roads enthusiasts often explore our gallery to see real-world examples of concrete paver installations that merge functionality with coastal flair.
Natural Stone
Natural stone pavers—flagstone, slate, travertine, or granite—bring unique veining and color variations that manufactured products cannot replicate. Each slab is quarried then cut to thickness, offering an organic mosaic effect that blends seamlessly with surrounding gardens and water features.
Their inherent strength and density resist abrasion from foot traffic and outdoor furniture. Certain stones, like granite, boast exceptional hardness that minimizes scratching and leaf-etching. Meanwhile, travertine’s porous surface offers a naturally slip-resistant texture when tumbled, perfect for poolside patios in humid summer months.
Installation requires a solid base and careful leveling. Irregular shapes often mean tighter joint patterns or custom-cut border stones to fill gaps. Natural stone can cost more upfront, but its durability and timeless elegance often justify the investment through decades of low-maintenance performance.
Aesthetically, stone patios offer versatile palettes—from warm beiges to cool blues—that harmonize with coastal vegetation and contemporary architecture alike. Over time, stones develop a gentle patina, softening edges and infusing character without compromising structural integrity.
Lighting transforms stone textures into dramatic focal points. For creative ideas around illuminating your hardscape, explore our suggestions on Outdoor Patio Lighting Ideas to make your stone surfaces glow long after sunset.
Concrete Patio
A poured concrete patio is the epitome of monolithic strength when engineered correctly. Mixed on-site or delivered by mixer trucks, concrete can be poured into custom shapes and thicknesses, forming a seamless surface ideal for large gathering areas.
Concrete slabs require wire mesh or rebar reinforcement to counteract tensile forces and minimize cracking. Control joints, cut at appropriate intervals (usually every 8 to 12 feet), guide where inevitable shrinkage cracks will occur, preventing random fissures from spoiling the finish.
Customization options abound. Decorative stamping can mimic brick, slate, or even natural stone patterns. Integral pigments or applied stains offer color permanency, while clear sealers lock in visual appeal and add stain resistance. Smooth troweled finishes provide a modern look, whereas broom-textured surfaces ensure grip in wet conditions.
Long-term care involves monitoring joints, resealing every two to five years, and patching minor surface cracks with epoxy fillers. Well-maintained concrete patios can last 30 years or more, making them a cost-effective choice for expansive outdoor living spaces.
Our team is ready to bring your vision to life—reach out anytime to Contact us for a detailed quote on a poured concrete patio tailored to the Hampton Roads environment.
Clay Brick Pavers
Clay brick pavers combine traditional warmth with enduring performance. Fired at high temperatures, these pavers feature rich, earthy hues ranging from deep reds to soft browns. Their slightly textured surfaces offer natural slip resistance, perfect for areas prone to coastal moisture.
Installation echoes that of concrete pavers: compacted stone base, sand bedding, and edge restraints. Clay bricks require precise base compaction and consistent leveling to prevent future shifting. Over time, the brick’s surface weathers, developing a soft patina that enhances charm in historic or cottage-style settings.
While clay brick pavers can cost slightly more than basic concrete units, homeowners appreciate their classic appeal and the subtle color changes that occur with age. Maintenance is straightforward—periodic brushing, resealing if desired, and resetting any units that settle unevenly.
The tight joints and uniform edges of brick pavers lend themselves to traditional running bond or herringbone patterns. These timeless layouts amplify curb appeal and pair beautifully with lush coastal plantings.
How does the Hampton Roads climate impact patio material performance?
Hampton Roads experiences a humid subtropical climate: hot, muggy summers and mild winters. High humidity accelerates mold and mildew growth on porous pavers or stone if organic debris isn’t cleared regularly. Selecting materials with low water absorption rates helps avoid slippery surfaces and surface staining.
Freeze-thaw cycles in winter are mild compared to northern states but still frequent enough to damage surfaces that trap moisture. Materials like weatherproof pavers and reinforced concrete that can flex under pressure minimize cracking from ice formation.
Salt spray from nearby bays and the Atlantic Ocean introduces chloride ions that can corrode steel reinforcement and degrade concrete surfaces. Opt for premium aggregates and sealants formulated to resist chlorides, and incorporate drainage solutions to divert saltwater run-off away from the patio.
Seasonal downpours demand efficient grading away from structures. Slight slopes—around 1/4 inch per foot—encourage rapid water shedding. Pairing the patio with French drains or channel drains along hard edges protects adjacent plantings and foundation walls from erosion.
UV exposure in summer fades pigments over time. High-quality pigments and fade-resistant sealers can preserve paver color for years. Routine resealing maintains vibrancy and extends the lifespan of both concrete and natural stone surfaces.
For expert insights on balancing irrigation flow with patio durability, our specialists at Hampton Roads Irrigation & Landscape can design integrated systems that keep greenery lush without compromising hardscape integrity.
How to maintain and extend the lifespan of your patio?
Sealing is your first line of defense. Apply a breathable, UV-resistant sealer every two to three years on pavers and natural stone. For concrete patios, choose acrylic or silane/siloxane sealers that penetrate deeply, reducing water absorption while preserving surface texture.
Regular cleaning prevents organic buildup. Sweep away leaves and debris weekly, then pressure wash annually to remove algae, mold, and stains. Use mild, pH-neutral detergents on stone surfaces to avoid etching or discoloration.
Joint maintenance is crucial for pavers. Inspect polymeric sand or mortar-filled joints after heavy rains or freezes. Refill or reseal joints as needed to prevent weed growth and maintain interlock stability.
Seasonal inspections help you spot issues early. Look for settled pavers, edge displacement, or hairline cracks in concrete. Address minor repairs promptly—lifting and releveling pavers or injecting crack sealant—before they expand and necessitate larger interventions.
What design considerations enhance durability and aesthetics?
A strong sub-base underpins any long-lasting patio. Generally, a 4- to 6-inch layer of compacted crushed stone ensures stable support and drainage. Proper compaction to 95% Proctor density minimizes future settling.
Slope and grading protect your patio and home. Aim for a gentle slope of at least 2% away from the house to channel water into landscaped beds or drainage channels rather than letting it pool against foundations.
Edging and border restraints keep pavers aligned under lateral forces. Plastic or metal edge restraints anchored into the sub-base hold pavers firmly, preventing unwanted expansion or contraction along the perimeter.
In concrete slabs, expansion joints placed every 10 to 15 feet accommodate thermal growth. Use premolded joint fillers or backer rods sealed with elastomeric caulk to create clean, controlled break points.
Pattern and joint layout influence performance and aesthetics. Herringbone patterns provide exceptional interlock strength, while basketweave or running bond offers classic charm. Choose a layout that complements your home’s style and supports traffic loads.
What are the budget considerations for Outdoor Patio Hampton Roads projects?
Outdoor Patio Hampton Roads homeowners must weigh initial installation costs against long-term maintenance expenses and expected lifespan. Budget constraints often guide the choice between premium natural stone and more economical concrete pavers.
Initial material costs vary widely: basic concrete pavers may start around $6 to $10 per square foot, while natural stone can range from $15 to $30 per square foot, depending on rarity and finish. Labor accounts for roughly 50% of the total project cost.
Lifecycle costs include periodic sealing, stain removal, and occasional resetting of individual units. Concrete pavers and brick often require joint reinvigoration every few years, whereas natural stone may only need annual cleaning.
Return on investment often favors durable materials that enhance curb appeal and property value. A well-built patio can recoup 60% to 75% of its cost upon resale, making quality installations a sound financial decision for Hampton Roads properties.
How to choose the right contractor in Hampton Roads for your patio project?
Vetting contractors is critical. Look for companies with A+ ratings from the Better Business Bureau and strong local portfolios showcasing projects in Virginia Beach, Norfolk, and Chesapeake. Experience in coastal installations is a must.
Ensure your contractor pulls the required permits and adheres to local codes. Proper drainage, setback distances, and erosion control measures often require engineering review in flood-prone zones.
Ask about warranties on both materials and workmanship. A solid contractor will stand behind a minimum one-year warranty on labor and guide you on maintaining manufacturer warranties for sealers or specialized pavers.
Review client testimonials and ask to see completed jobs in person. Seeing finished patios in the Hampton Roads environment reassures you of the contractor’s ability to deliver long-lasting results under regional climate stresses.
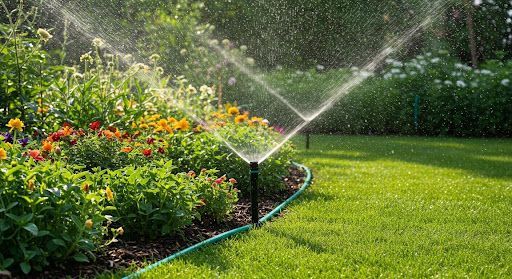
How to integrate lighting and irrigation for a seamless outdoor space?
Lighting transforms a patio from functional to enchanting. Specify waterproof LED fixtures that install flush with pavers or tuck under coping stones for subtle glow. Path lights and uplights highlight focal points while enhancing safety.
Position fixtures away from irrigation spray patterns to avoid corrosion. Use fully enclosed connectors and low-voltage wiring rated for outdoor use. Smart controls and timers let you automate lighting schedules, conserving energy and extending bulb life.
Irrigation placement must consider overhangs and turf edges. Place drip lines and micro-sprinklers under shrub canopies and turf flush with paver joints to minimize overspray. Solenoid valves and rain sensors protect hardscapes from excess moisture accumulation.
Coordinating lighting and irrigation with your patio design ensures a cohesive system. Centralized control panels simplify maintenance, while zoned wiring and valve manifolds reduce troubleshooting time for service adjustments.
Frequently Asked Questions
How do weatherproof pavers compare to natural stone for durability?
Weatherproof concrete pavers offer predictable strength, consistent color, and easy replacement of individual units. Natural stone delivers unmatched visual depth and decades-long lifespan but can cost significantly more. In Hampton Roads, pavers flex with soil movement to resist cracks, while stone requires precise installation to prevent shifting.
Is a concrete patio suitable for the Hampton Roads freeze-thaw cycle?
Absolutely. When properly reinforced with steel mesh or rebar, and with well-placed control joints, a concrete patio resists freeze-thaw damage. Using air-entrained mixes and high-quality sealers further protects the slab from moisture intrusion and spalling.
How often should a patio be sealed in a coastal environment?
In Hampton Roads, resealing every two to three years keeps pavers, stone, and concrete surfaces protected from salt spray and UV fading. High-performance sealers with UV inhibitors are recommended to maintain color and prevent water penetration.
What’s the average lifespan of a natural stone patio in humid climates?
Natural stone patios can last 30 to 50 years or more when installed over a stable, well-drained base. Their low water absorption rates and inherent strength make them ideal for humid subtropical regions, provided they receive routine cleaning and prompt joint repairs.
Can patios in Hampton Roads withstand hurricane-force winds?
Hurricanes seldom lift properly installed patios because their weight and ground anchoring resist uplift. However, furniture, planters, and decor must be secured or stored. Designing with wind-resistant features, such as built-in seat walls and low-profile elements, reduces loose debris risk.
Final Words
In a region where coastal charm meets climate challenges, selecting weatherproof pavers, a stamped or stained concrete patio, or timeless natural stone ensures your outdoor living space endures. By considering material performance, proper installation, thorough maintenance, and integrated lighting and irrigation, you’ll craft an oasis that stands the test of time. For expert design, installation, and long-term service in Tidewater Virginia, trust our experienced team at Hampton Roads Irrigation & Landscape. We bring together top-quality materials and skilled craftsmanship to build the perfect sanctuary in your backyard.

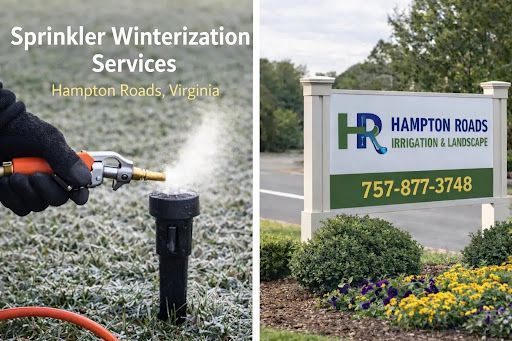
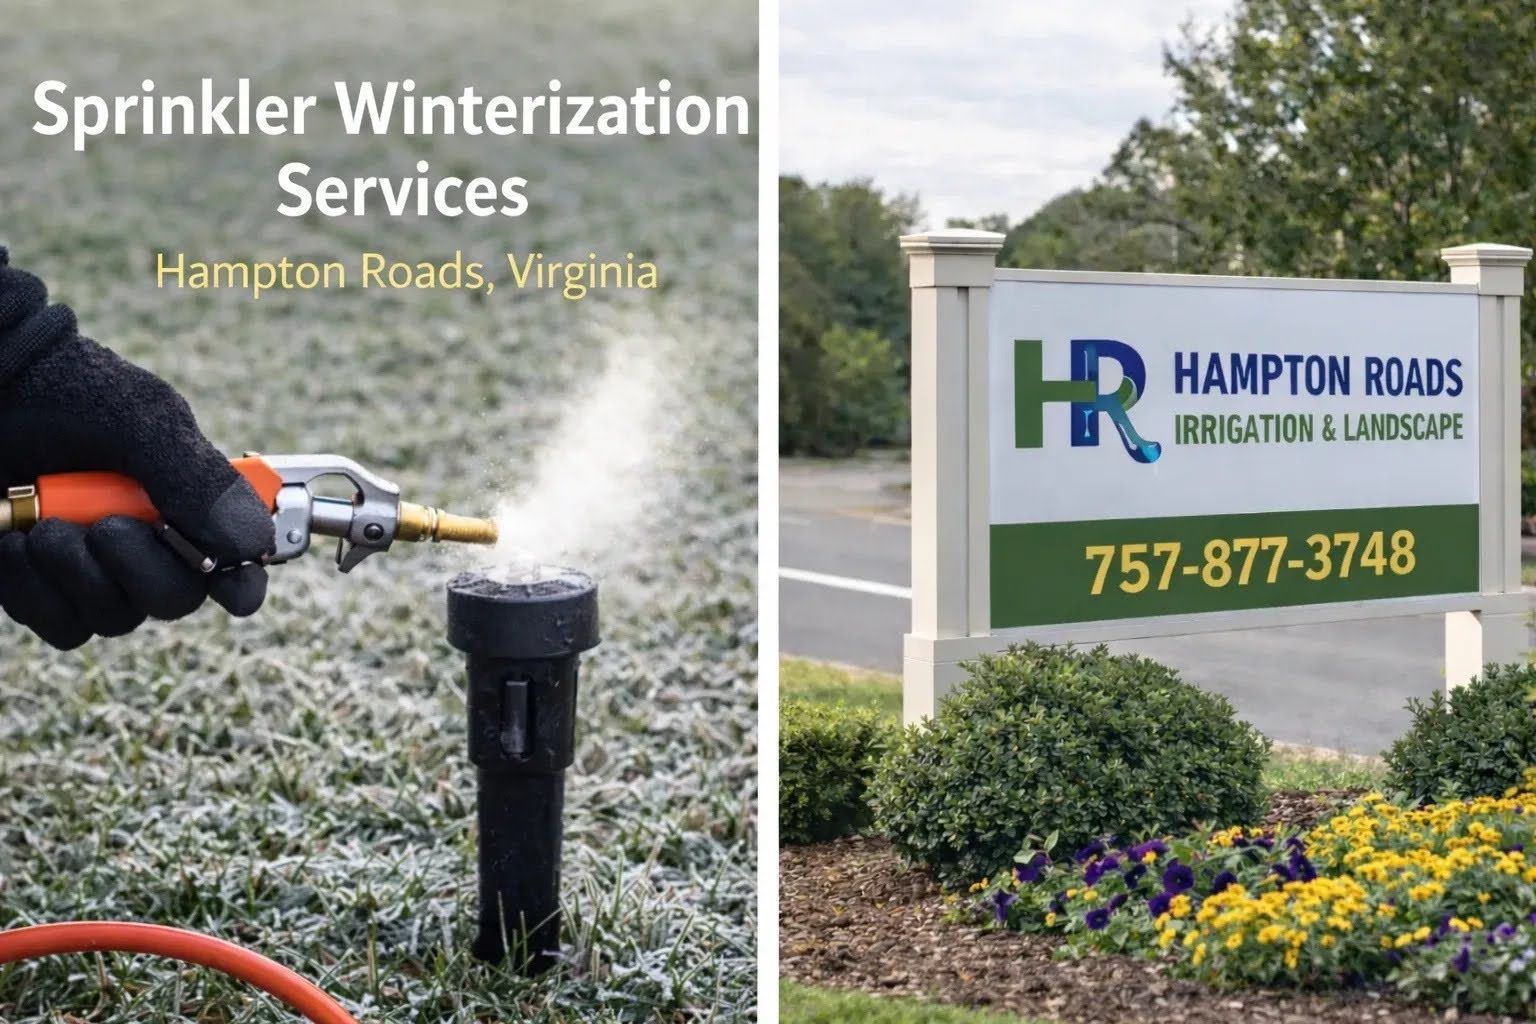
How to Winterize Your Sprinkler System Effectively: Expert Steps for Freeze Protection and Longevity

How to Winterize Your Sprinkler System Effectively: Expert Steps for Freeze Protection and Longevity