Paver Patio Pricing Guide for Yorktown Homeowners — Costs, Choices & Long-Term Value
A paver patio can be one of the most noticeable and useful upgrades for a Yorktown yard. Knowing typical installed cost ranges up front helps you plan with confidence. This guide lays out regional price expectations, the main cost drivers, and practical ways to balance budget with durability so you can make smart design and contractor decisions. Because Hampton Roads’ climate affects material performance, we cover paver types, site preparation, common add-ons, installation stages, permits, and maintenance. You’ll see per-square-foot ranges, sample project budgets, comparison tables for common paver materials, and hands-on tips to protect your investment. When it’s helpful, we point to local help: Hampton Roads Irrigation & Landscape offers free estimates and bundled services for drainage, lighting, and patios to give Yorktown homeowners accurate, site-specific pricing.
What are the key factors that influence paver patio costs in Yorktown, VA?
Your final installed price depends on a few predictable factors: material choice, how much site preparation is required, crew size and access, design complexity, and any extra features you add. Each factor affects either material spend or labor time — for example, premium natural stone raises material cost, while a steep slope means more excavation and base work. Knowing these drivers helps you decide where to invest for longevity and where you can save. Below are the primary influences with short notes to help prioritize decisions.
- Materials: Different pavers carry different unit prices and maintenance needs over time.
- Site preparation: Excavation, soil correction, and sub-base work determine long-term performance.
- Labor & access: Crew size, local rates, and ease of getting equipment on site affect schedule and cost.
- Design complexity: Curves, patterns, and custom borders add layout and cutting time.
- Additional features: Fire pits, seating walls, lighting, and drainage add scope and expense.
With those factors in mind, the next section helps you match materials to your goals and budget.
How do material types affect paver patio pricing?
Material choice drives a large part of both upfront cost and long-term value. Concrete pavers usually offer the lowest installed cost per square foot and are easy to replace; natural stone such as bluestone or travertine carries a higher upfront price for a premium look and unique texture. Permeable pavers need extra base prep and drainage components, which raises initial cost but can reduce runoff problems later. Local conditions — salt exposure near the coast and freeze/thaw cycles — also influence which materials will last with minimal repairs. Pick a material that balances the look you want, expected foot traffic, maintenance tolerance, and how it performs in Yorktown’s environment.
Next, we’ll explain how site prep and labor either amplify or mitigate those material choices.
What role does site preparation and labor play in installation costs?
Site preparation and skilled installation are the foundation of a long-lasting patio. A properly built sub-base of graded aggregate spreads loads, while sand bedding and edge restraints keep pavers locked in place — skipping these steps usually leads to early fixes. Tough conditions like large roots, poor soils, steep slopes, or narrow access increase excavation time, require retaining elements, or demand extra drainage work, all of which raise material and labor costs. Labor in Hampton Roads reflects crews experienced in grading, compacting, laying patterns, and finishing joints; higher craftsmanship reduces future repair bills. When budgeting, include quality base work and a contingency for unexpected subsurface issues — fixing problems early is almost always cheaper than correcting them later.
These drivers feed into the regional per-square-foot pricing and sample project totals that follow.
How much does a paver patio cost per square foot in Hampton Roads?
Short answer for the region: installed paver patios in Hampton Roads generally run between about $15 and $45 per square foot, depending on material, site prep, and added features. Straightforward concrete paver installs commonly fall in the $15–$25/ft² range, while premium natural stone or highly detailed designs can reach $30–$45/ft². Permeable systems and jobs needing significant grading or drainage sit toward the top of the range because of extra base and drainage components. The three main influences to remember are material choice, site preparation, and add-on features like fire pits or built-in lighting.
Main influencing factors:
- Material type (concrete, natural stone, permeable)
- Site prep and drainage needs
- Design complexity and additional features
Below is a simplified cost table showing installed price ranges by project size and complexity to help visualize totals for common patio sizes.
This table shows typical installed cost ranges by project size and complexity for Hampton Roads conditions.
| Project Size | Basic Design (simple layout) | Mid Complexity (pattern / border) | High Complexity (stone / large add-ons) |
|---|---|---|---|
| 100 ft² (10×10) | $1,500 – $2,500 | $2,000 – $3,500 | $3,000 – $4,500 |
| 400 ft² (20×20) | $6,000 – $10,000 | $8,000 – $14,000 | $12,000 – $18,000 |
| 600 ft² (custom) | $9,000 – $15,000 | $12,000 – $21,000 | $18,000 – $27,000 |
That sizing table shows how scale and complexity increase costs and why a site-specific estimate is valuable. For precise Yorktown pricing that factors in soil, drainage, and finishes, Hampton Roads Irrigation & Landscape can provide a free, tailored estimate and local guidance.
What is the average price range for concrete, natural stone, and permeable pavers?
Concrete pavers are typically the most budget-friendly when you consider installation and future replacement, with installed prices commonly around $15–$25 per square foot for simple designs. Natural stone — including bluestone or travertine — delivers distinct textures and upscale curb appeal but usually installs in the $30–$50/ft² range because of material cost and more careful bedding and jointing. Permeable paver systems require specialized base layers and drainage parts, which can push installed costs into the $25–$40/ft² range, though they help manage stormwater and may reduce other drainage work. For example, a 400 ft² concrete patio at $18/ft² costs much less up front than the same area in natural stone at $35/ft², though the stone’s look or resale appeal might justify the extra expense.
Comparing these ranges shows why homeowners should weigh both initial budget and long-term performance when choosing materials.
How do design complexity and additional features impact pricing?
Design details and add-ons increase labor time and sometimes require specialty materials, which push total cost beyond base per-square-foot figures. Complex patterns, tight curves, intricate borders, and custom cuts require more layout and cutting time and typically add 10–30% to labor costs compared with simple, grid-based installs. Add-ons like built-in fire pits, seating walls, or integrated low-voltage lighting usually appear as separate line items — for instance, a modest fire pit and foundation can add several hundred to a few thousand dollars depending on materials and gas or electrical hookups. Edge restraints, custom finishes, and sealers add material and labor costs but often extend life. When budgeting, factor in percentage increases for complexity and flat fees for specific features so you get a realistic total.
Next, we break down materials and common features in more detail.
What is the detailed cost breakdown by paver type and popular features?
A clear cost breakdown helps you match material properties to your goals by listing installed price per square foot, durability expectations, maintenance needs, and typical uses. This side-by-side comparison clarifies trade-offs between budget, look, and long-term performance so you can prioritize what matters most for your Yorktown property. Below is a compact comparison table organizing each paver material by cost, durability, and ideal applications.
| Paver Material | Installed Cost Range | Durability & Maintenance | Typical Use Cases |
|---|---|---|---|
| Concrete Pavers | $15 – $25 / ft² | Durable, low maintenance, easy to replace | Patios, driveways, high-traffic areas |
| Flagstone (natural) | $30 – $45 / ft² | Long-lived, variable thickness, moderate upkeep | Formal patios, irregular patterns |
| Travertine | $35 – $50 / ft² | Premium finish, susceptible to staining, periodic sealing | Pool decks, upscale patios |
| Bluestone | $30 – $55 / ft² | Very durable, higher material cost, skilled installation | High-end patios, terraces |
This table shows concrete as a strong option for budget-focused projects while flagstone, travertine, and bluestone suit premium aesthetics. Your choice should reflect the look you want, expected traffic, and how much maintenance you’re willing to do. After you pick a material, many homeowners add features — the next table summarizes common add-on ranges and considerations.
Intro to feature costs: add-ons require both materials and integration work; the table below gives common installed cost ranges and key notes.
| Feature | Typical Installed Cost Range | Considerations |
|---|---|---|
| Fire Pit (masonry or paver) | $800 – $4,000 | Fuel source, foundation, safety clearances |
| Seating Wall (low) | $800 – $2,500 | Height, length, structural footing |
| Outdoor Lighting (low-voltage) | $300 – $1,200 | Wiring, transformer, fixture quality |
These breakdowns show where bundling services — like combining patio, drainage, and lighting work — creates efficiencies and reduces project management overhead. Integrating drainage and lighting during patio framing often yields better long-term performance and a cleaner final look.
What are the costs and benefits of concrete, flagstone, travertine, and bluestone pavers?
Concrete pavers are cost-effective and versatile: they come in many colors and shapes, are straightforward to install, and make local repairs simple. Flagstone gives a natural, irregular look that suits rustic or cottage-style landscapes but often needs a thicker bedding and occasional leveling. Travertine delivers a smooth, upscale finish ideal for poolside patios but benefits from sealing to protect color and resist stains. Bluestone is highly durable with a distinctive blue-gray palette favored in premium installations, though material and skilled labor costs are higher. Compare each material’s cost, installation needs, maintenance, and look against priorities like initial budget, low-maintenance desires, and intended usage.
With those material differences in mind, the next section examines how much features like fire pits and lighting add to the scope and price.
How much do fire pits, seating walls, and outdoor lighting add to the project?
Common outdoor features have familiar cost bands but require careful planning for integration, safety, and utilities. Fire pits vary by size and construction (prefab vs. masonry) and whether you need gas or electrical hookups, usually ranging from $800 to $4,000 installed. Seating walls depend on materials and length; modest low walls commonly run $800–$2,500 and can double as retaining elements when built properly. Outdoor lighting includes fixtures, wiring, and controls; a basic low-voltage patio layout typically costs $300–$1,200 installed. When adding features, account for extra excavation, foundations, and any permit requirements; bundling these items with the main patio install often reduces repeated mobilization and saves money.
Next we walk through the installation process and where costs occur in each stage.
How does the installation process affect the overall cost of your paver patio?
Installation happens in distinct stages, and each stage affects cost and durability: site assessment and design, excavation and base construction, paver laying and jointing, and final grading with landscape integration. Proper site assessment helps avoid surprises, a solid base provides lasting performance, careful laying and compaction prevent settlement, and final integration addresses drainage and appearance. Think of the project as a system — pavers plus base/sub-base, sand bedding, edge restraints, jointing material, and drainage — so you budget for both installation and long-term performance. Below are the installation phases with short cost notes for each.
- Site assessment & design: Reduces change orders by identifying slope, utilities, and access needs early.
- Excavation & base construction: The biggest investment in durability; a proper gravel base limits future repairs.
- Paver installation & compaction: Skilled layout and mechanical compaction influence labor time and finish quality.
- Jointing, sealing & cleanup: Joint sand or polymeric sand and optional sealers protect the surface.
- Final grading & integration: Blends the patio into the landscape, drainage, and adjacent hardscape.
Knowing these stages helps you compare bids and prioritize spending to extend the life of your patio and reduce future fixes.
What are the steps involved in professional paver patio installation?
Pros follow a common sequence: site survey and layout, excavation to the proper depth, compacted aggregate sub-base, sand bedding, paver placement with edge restraints, mechanical compaction, joint filling, and optional sealing. Each step uses specific tools and materials: layout and survey tools for accuracy, excavators and compactors for base work, and plate compactors and joint rammers for final compaction. Timeline varies by size and complexity — a modest patio can take a crew a few days, while larger or more detailed jobs take longer. Prepare by clearing the area, marking underground utilities, and noting access limits that could affect mobilization and labor.
These installation steps lead into permit and regulation items that can affect time and cost if municipal approvals are needed.
How do local regulations and permits in Yorktown influence costs?
Yorktown’s permit and regulation requirements can affect schedule and cost when projects include structural elements, electrical work, or changes to drainage. Common permit triggers are built-in features with electrical or gas connections (for example, a gas fire pit), changes that alter runoff patterns, or structures that exceed local height or size thresholds. Permit fees and inspections add modest direct costs but help avoid costly rework by ensuring code compliance. For exact permit rules and fees, consult Yorktown officials or a local contractor who knows municipal processes — they can tell you when a permit is required and when work can proceed without filings.
Understanding permit needs lets you plan schedule buffers and budget contingencies. Next we cover ways to maximize value and financing strategies.
How can Yorktown homeowners maximize value and ROI on their paver patio investment?
Maximizing ROI means balancing upfront cost with durability, curb appeal, and integration with systems that reduce future maintenance. Pick materials suited to Hampton Roads’ climate, invest in a proper base and drainage, and choose features that match likely use (seating, lighting). Regular maintenance like joint sanding and targeted sealing preserves the investment and minimizes life-cycle costs. If you need flexible payment, financing can spread the cost over time; Hampton Roads Irrigation & Landscape offers financing assistance and free estimates to help Yorktown homeowners evaluate options and realistic budgets.
Key ROI strategies include:
- Choose materials that match expected use and local climate tolerance.
- Prioritize base quality and drainage to prevent settlement repairs.
- Bundle complementary services (drainage, lighting) to gain efficiency.
- Stage upgrades to spread costs while improving value over time.
To make financing and budgeting practical, the table below compares common financing options and sample payback attributes so you can see potential monthly impacts and ROI timing.
Intro to financing options: typical local offerings include short-term project loans, home-improvement lines, and contractor-arranged plans; the simple comparison below helps with planning.
| Feature | Typical Installed Cost Range | Considerations |
|---|---|---|
| Fire Pit (masonry or paver) | $800 – $4,000 | Fuel source, foundation, safety clearances |
| Seating Wall (low) | $800 – $2,500 | Height, length, structural footing |
| Outdoor Lighting (low-voltage) | $300 – $1,200 | Wiring, transformer, fixture quality |
This financing snapshot helps you weigh monthly commitments against the value of improved outdoor living and potential property appreciation. Next are practical budgeting tips and maintenance guidance to keep ROI predictable.
What budgeting tips and financing options are available?
Start budgeting with accurate estimates that include a contingency (usually 10–15%) for subsurface surprises and last-minute feature additions. Good practices include setting aside contingency funds, comparing multiple bids that itemize sub-base, paver, labor, and add-on costs, and considering staged implementation (for example, build the patio now and add lighting later). Financing ranges from home-improvement loans to contractor-arranged plans — compare terms and total interest to find the lowest long-term cost. For tailored financing guidance and a site-specific quote, Hampton Roads Irrigation & Landscape provides free estimates and can discuss payment options that fit your budget and timeline.
These budgeting practices tie directly to regular maintenance that protects ROI over the patio’s life.
How does proper maintenance extend patio longevity and value?
Consistent maintenance keeps a patio performing longer by preventing water intrusion, weed growth, and joint failure — all of which reduce the chances of costly repairs. Recommended tasks include seasonal sweeping and rinsing, re-sanding joints every few years or after heavy storms, and periodic sealing where appropriate for your material. Address drainage issues, settling, or cracked pavers quickly to avoid bigger problems. A simple maintenance rhythm — quick visual checks each season, joint sand touch-ups every 2–4 years, and sealing every 3–5 years if needed — helps keep long-term costs down and protects your investment.
Good maintenance practices naturally point to choosing a trusted local contractor for installation and ongoing service.
Why choose Hampton Roads Irrigation & Landscape for your paver patio project?
Professional installation standards and a focus on customer satisfaction reduce the chance of missed items or overlooked site issues. The company provides free estimates so you get a clear, written scope and price before deciding. That local experience and the ability to bundle services means a smoother project and stronger long-term patio performance.
The best way to confirm these service claims is to contact the company for a detailed, site-specific estimate that reflects your design goals.
How can you request a free, detailed paver patio estimate?
To speed up the quoting process and get better budget accuracy, measure the intended patio area, list desired features (fire pit, seating wall, lighting), and take photos showing slopes, access, and nearby structures. When you request a free estimate, be ready to share material preferences, pattern ideas, and any known drainage concerns so the estimator includes base and drainage work in the proposal. Hampton Roads Irrigation & Landscape offers free, detailed estimates and can review financing options during the walkthrough to help you plan payments and schedule. A clear estimate that separates materials, labor, and feature costs makes it easy to compare approaches and choose the option that best balances cost, longevity, and style.
Getting a site-specific estimate completes the path from general cost understanding to a concrete plan tailored to your Yorktown property.
Frequently Asked Questions
What are the common mistakes homeowners make when planning a paver patio?
Homeowners often underestimate the importance of a proper base, skip contingency planning, or choose materials that aren’t suited to local conditions. A weak base leads to settling and costly repairs, and ignoring climate factors can mean faster wear. Also, some people forget ongoing maintenance needs, which increases long-term costs. Plan carefully and consult professionals to avoid these common pitfalls.
How can I choose the right contractor for my paver patio installation?
Look for local companies with strong reputations and good customer reviews. Ask for detailed, itemized estimates from several contractors so you can compare sub-base, paver, labor, and add-on costs. Verify experience with similar projects, check licensing and insurance, and ask about warranties for materials and workmanship. A good contractor will be transparent, responsive, and willing to walk you through the scope and timeline.
What maintenance practices should I follow for my paver patio?
Keep a simple routine: sweep and rinse seasonally, re-sand joints every few years or after big storms, and seal pavers when appropriate for your material (typically every 3–5 years). Fix drainage issues and settle spots quickly to prevent bigger problems. Regular upkeep keeps your patio safe and attractive and reduces repair costs over time.
Are there financing options available for paver patio projects?
Yes. Many homeowners use short-term project loans, longer-term home improvement loans, or contractor-financing plans. Terms, monthly payments, and interest vary, so compare offers to find the best fit. Discuss financing during the estimate to understand available options and how they affect your monthly budget.
What are the environmental benefits of using permeable pavers?
Permeable pavers let water soak through the surface, which reduces runoff, lowers flood risk, and helps recharge groundwater. They also help filter pollutants from stormwater, improving local water quality. Choosing permeable systems supports sustainable landscaping while keeping your outdoor space functional and attractive.
How do I prepare my yard for a paver patio installation?
Start by clearing the area of plants, debris, or structures that will interfere with the work. Check for drainage issues and slope, since these affect design and base needs. Mark the layout with stakes and string so you can visualize the space. If unsure about soil or other conditions, consult a professional to determine if extra site prep is needed. Proper preparation makes installation smoother and the finished patio longer lasting.
Conclusion
A paver patio is a high-impact way to expand your outdoor living space and boost long-term value. Understanding cost drivers, material choices, and maintenance needs helps Yorktown homeowners make informed decisions that fit their budget and lifestyle. Choose quality materials, invest in proper installation, and plan for routine maintenance to ensure a durable patio that stands up to local conditions. Request your free estimate from Hampton Roads Irrigation & Landscape today to start planning a patio that suits your home and your life.
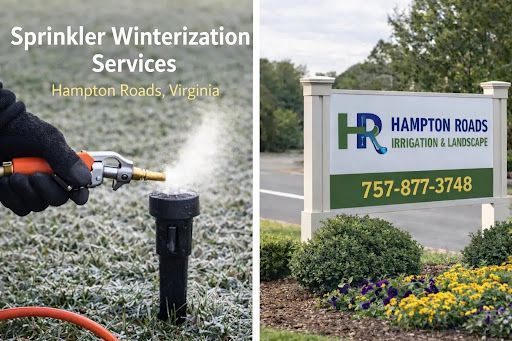
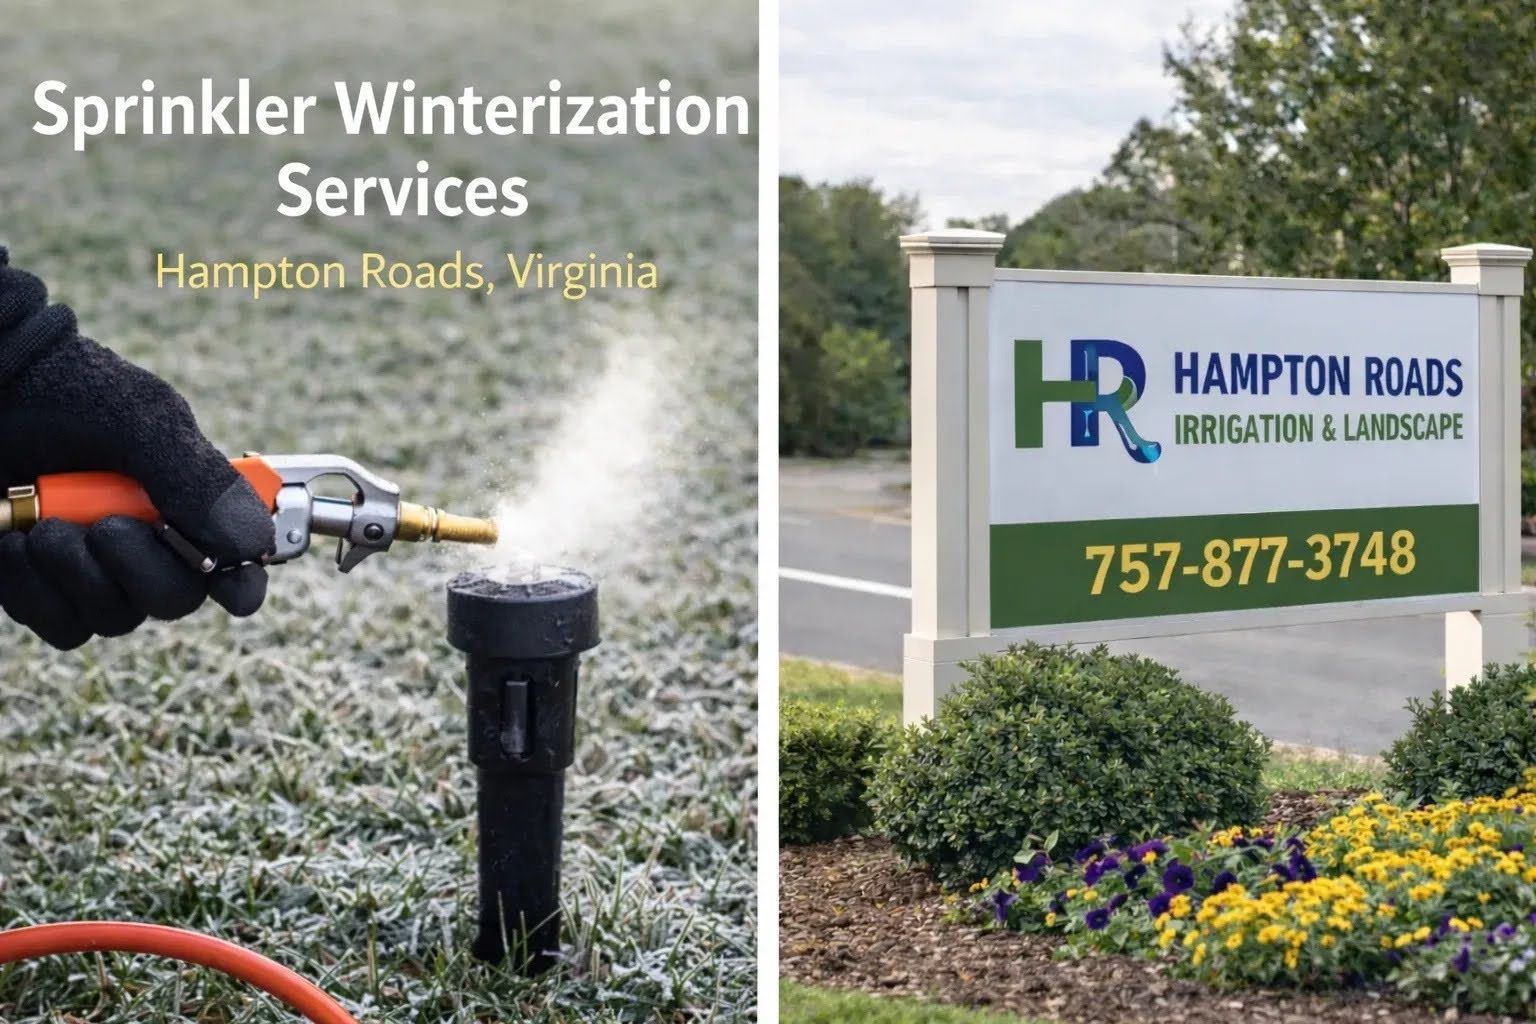
How to Winterize Your Sprinkler System Effectively: Expert Steps for Freeze Protection and Longevity

How to Winterize Your Sprinkler System Effectively: Expert Steps for Freeze Protection and Longevity