How Much Should You Expect to Pay for Paver Patios in Hampton Roads? Your 2025 Cost Guide
Planning a paver patio in Hampton Roads starts with a realistic budget and a clear sense of local conditions that affect price. This 2025 cost guide gives straightforward, actionable numbers and decision checkpoints to help you plan. We explain per‑square‑foot ranges, sample totals for common patio sizes, and the main cost drivers—materials, labor, and site preparation—so you can compare options like concrete pavers, brick, natural stone, and permeable systems. Hampton Roads Irrigation & Landscape adds local know‑how, offering free estimates and practical insight into regional soils, high water tables, and building codes to keep your plan accurate. You’ll learn how excavation, drainage, and design complexity move the bottom line, what common add‑ons cost, and when hiring a pro is worth it. The article covers average costs, key factors, site‑prep implications, optional features and financing, city‑by‑city differences across Yorktown, Chesapeake, Virginia Beach, Suffolk and Williamsburg, and the value of working with local contractors.
What Is the Average Cost of Paver Patio Installation in Hampton Roads, Virginia?
Installed costs for paver patios in Hampton Roads vary with material and site conditions, but this guide gives a realistic installed range to help you budget. Installed prices bundle material, labor, and site preparation—each plays a meaningful role in the final price and the patio’s long‑term performance. Sample project totals (small, medium, large) show how per‑square‑foot ranges scale into overall budgets and why fixed mobilization and prep fees hit small projects harder. For pricing tailored to your yard—factoring local soil and permitting—contact Hampton Roads Irrigation & Landscape for a free on‑site estimate that accounts for high water tables and local code needs.
Installed cost components usually appear as separate line items; comparing them side‑by‑side helps forecast a final project budget.
| Component | Typical Cost Range (per sq ft) | Notes |
|---|---|---|
| Materials (pavers, bedding sand) | $6 – $20 | Varies by material; concrete is lower, natural stone higher |
| Labor (installation & edging) | $8 – $18 | Pattern complexity and crew rates affect this line |
| Site prep (excavation, base, drainage) | $3 – $12 | High water table or poor soils push this higher |
This breakdown shows material choice and site preparation can each make up 25–50% of the installed cost, so investing in a proper base and drainage pays off in longevity and lower maintenance. The next section walks through material‑by‑material expectations and why prices vary.
What Are Typical Price Ranges Per Square Foot for Paver Patios?
Per‑square‑foot pricing depends on whether you’re looking at material‑only costs or fully installed figures. Material‑only numbers range from budget concrete pavers to premium natural stone; installed pricing adds labor, base work, and edging to give a realistic budgeting figure. Concrete pavers usually sit in the low‑to‑mid tier—durable and easy to source—brick is mid‑range with a classic look, and natural stone sits at the high end because of quarrying and extra labor for irregular pieces. Permeable systems require engineered bases and drainage planning, which raises installed costs compared with solid systems.
Knowing the difference between material‑only and installed pricing helps you pick an option that balances upfront cost with long‑term value. The section that follows explains how patio size changes per‑unit cost.
How Do Common Patio Sizes Affect Total Project Costs?
Patio size affects both the total budget and the per‑square‑foot price because fixed costs—mobilization, permits, project management—get spread across the area. Small patios (around 200 sq ft) usually show a higher installed cost per square foot because setup fees, edging, and waste are proportionally larger. Medium (about 400 sq ft) and large layouts (600+ sq ft) lower the unit cost as crews work more efficiently and material discounts kick in. For example, a 200 sq ft patio at a mid‑range installed price is a meaningful investment; doubling the area raises the total but typically drops the per‑sq‑ft rate. Keep in mind that poor site access, complex patterns, or retaining elements can erase economies of scale—so larger, simpler layouts often give the best unit pricing.
Understanding how fixed costs affect small projects leads into the ranked factors that most influence pricing.
Which Factors Influence Paver Patio Installation Costs in Virginia?
Several ranked variables determine final pricing, and knowing their relative impact helps you prioritize budget and design trade‑offs. Material selection and logistics usually drive the biggest cost swings because unit prices and base requirements differ widely. Site conditions—slope, access, existing surfaces—change equipment and labor needs and can spike costs when heavy excavation or rock removal is needed. Design complexity (intricate patterns, curves, levels, integrated steps) adds labor and waste, increasing installed cost. Finally, permitting and inspections add time and admin expense. These factors together define the realistic price range for a Hampton Roads project.
Key cost drivers to weigh when planning:
- Material selection and availability: sets your baseline for look and durability.
- Site access and condition: tight access, slopes, or poor soils raise excavation and labor needs.
- Design complexity and patterning: intricate layouts increase cutting, waste, and labor hours.
With these priorities in mind, the next subsection compares common materials on cost and durability.
How Does Material Type Impact Paver Patio Pricing?
Material choice determines both upfront cost and lifecycle value. Concrete pavers are usually the most cost‑effective installed option—consistent sizing makes patterns efficient and reduces waste. Brick pavers sit in the mid‑tier, offering classic texture but requiring careful base leveling to prevent settling. Natural stone (bluestone, flagstone) is premium: higher material cost, variable thickness, and extra labor for irregular shapes, but it delivers a high‑end finish that can boost property value. Permeable pavers need engineered bases and often subdrains, increasing initial cost while offering stormwater benefits—important in areas with high water tables.
| Material Type | Material Cost per sq ft | Value & Durability |
|---|---|---|
| Concrete pavers | $3 – $8 | Cost-effective, consistent sizing; good durability |
| Brick pavers | $4 – $10 | Classic look, moderate durability; may need closer base prep |
| Natural stone | $8 – $25+ | Premium aesthetic, higher cost, longer lifespan with proper base |
| Permeable pavers | $6 – $20 | Requires engineered base; stormwater benefits add value |
This table shows how durability and installation complexity rise with material choice and why most homeowners start with material selection when setting a budget. Next, we cover how pattern complexity and layout choices add cost.
What Role Do Patio Size and Design Complexity Play in Cost?
Size and design complexity drive labor time, material waste, and the need for skilled installers—and those factors often translate to percentage uplifts over a basic square layout. Herringbone and other intricate patterns require more cutting and precise joint alignment, typically adding 15–30% in labor. Curved borders and multi‑level designs can add 20–40% because of extra edge restraints and custom work. Larger patios dilute mobilization and permit fees, lowering unit costs, while small, detail‑heavy installs are the most expensive per square foot. Elements like soldier courses, custom borders, and integrated steps add time and tooling, so balancing aesthetics with efficient pattern choices usually gives the best cost outcome.
With materials and design effects covered, let’s look at site preparation—the often invisible driver of future performance.
How Does Site Preparation Affect Your Paver Patio Investment?
Site preparation determines how long your patio will last. Proper excavation, base construction, grading, and drainage prevent settling and water damage. Base depth and composition, compaction method, and the use of subdrains or engineered drainage all depend on local soil and water‑table conditions—and each adds to the initial cost while delivering major longevity benefits. Cutting corners on site prep might save money upfront but usually leads to earlier repairs and higher life‑cycle costs. Budgeting appropriately for base work is a risk‑averse choice for most homeowners.
Below is a concise, cost‑oriented breakdown of common site‑prep line items and when they’re necessary.
What Are the Costs of Excavation, Grading, and Drainage Solutions?
Excavation and grading are often quoted per square foot or cubic yard and rise when rock, roots, or steep slopes are present. Shallow excavation for a level patio is relatively modest; deeper excavation for frost protection or permeable systems increases volume and cost. Base material—compacted aggregate layers—adds a predictable per‑sq‑ft cost, while compaction equipment and skilled crews affect labor pricing. Drainage ranges from simple surface grading to French drains or subdrains; in high water‑table areas, subdrains are commonly necessary. They add cost up front but prevent long‑term water damage. Budgeting for the right drainage is critical in Hampton Roads, where soil and tidal influence affect surface and subsurface water flow.
Investing in proper site prep reduces future maintenance and repair risk. The next subsection explains how our local soils change installation requirements.
How Do Hampton Roads’ Soil Conditions Influence Installation?
Hampton Roads has varied soils and a relatively high water table in many neighborhoods—conditions that require technical mitigation for stable paver work. Clay‑heavy soils hold water and can expand or shrink seasonally, so a well‑draining engineered base and sometimes a subdrain are needed to keep the surface flat. Sandy soils drain well but may shift without the right graded and compacted aggregate base. Low‑lying or tidal areas often need heavier base sections and perimeter drains to manage stormwater and seasonal groundwater. Knowing these local soil challenges helps homeowners prioritize drainage and base investment up front.
Next, we outline common add‑on features that increase scope and cost.
What Additional Features Can Increase Your Paver Patio Cost?
Additions like fire pits, seating walls,integrated lighting, and outdoor kitchens raise project scope and cost because they need extra structural work, utilities, and sometimes permits. These features increase material and labor needs and often change base and drainage requirements—for example, a seating wall needs deeper footings and compaction, and a gas fire pit requires gas‑line planning. While add‑ons raise the upfront cost, they deliver lifestyle value and increase usable outdoor living space. Planning them with the patio saves retrofit costs later.
Common add‑ons and how they usually affect the budget:
- Fire pits: add structure and sometimes gas‑line costs; prices vary widely by style and fuel choice.
- Seating walls and built‑ins: need foundations and proper compaction for longevity.
- Outdoor lighting and electrical: require trenching, conduit, and licensed electrical work for safety.
Bundling features with the patio installation often reduces total cost versus retrofits. The next subsection lists typical price ranges for popular features and explains when permits or specialists are needed.
How Much Do Fire Pits, Seating Walls, and Outdoor Lighting Add to Costs?
Typical add‑on costs vary by complexity and finish but generally fall into these bands: basic masonry fire pits add about $1,000 to $3,000 depending on gas or wood; seating walls commonly add $500 to $3,000 based on length and stone choice; and integrated low‑voltage lighting systems typically add mid‑hundreds to low‑thousands for materials and trenching. These features can require deeper footings, reinforced bases, or conduit runs that expand the project beyond just a paver surface, so bundling them usually gives better value. When utilities are involved, licensed trades and permits may be required, which can affect schedule and cost.
Grouping feature planning with the patio work reduces redundant mobilization and ensures drainage and base design account for added loads. Next we cover financing options.
Are There Financing Options for Paver Patio Enhancements?
Homeowners commonly finance patio projects through contractor financing programs, home equity lines or loans, and personal loans. The best choice depends on interest rates, term length, and how quickly you want the work done. Contractor financing—if offered—can simplify approval and roll project costs into one monthly payment. Home equity financing often offers lower rates for larger projects but uses your home as collateral. Personal loans are fast and simple for moderate projects but can carry higher interest. Think about return on investment—better outdoor living, more enjoyment, and resale appeal—when deciding if financing makes sense.
If you finance, get clear written payment schedules and confirm how contingency items are handled. The next main section looks at how costs vary across Hampton Roads cities.
How Do Paver Patio Costs Vary Across Hampton Roads Cities?
Costs differ across Yorktown, Chesapeake, Virginia Beach, Suffolk, and Williamsburg because of soil conditions, permitting practices, and local labor and supply logistics. City‑level differences explain why two nearby homes can get different estimates. Material delivery routes and supplier stock affect prices where supply is limited or transport is long. Municipalities with stricter permitting or inspection workflows add administrative time that shows up in scheduling or labor. Local crews familiar with a city’s soils and drainage norms often work more efficiently and avoid surprises. For precise pricing, request a free on‑site estimate so a contractor can evaluate access, soils, and local regulations for your lot.
| City | Typical Range (installed per sq ft) | Local Factors |
|---|---|---|
| Yorktown | $12 – $30 | Coastal soils, access near historical districts |
| Chesapeake | $13 – $32 | Mixed soils, variable permit processes |
| Virginia Beach | $14 – $35 | Higher demand in some neighborhoods, water table concerns |
These ranges reflect regional patterns. Suffolk and Williamsburg each have local quirks—permit rules and soil conditions—that can change costs, which we address next with more localized notes.
What Are the Average Paver Patio Costs in Yorktown, Chesapeake, and Virginia Beach?
Yorktown jobs often reflect coastal conditions—lower elevations and higher drainage needs—so installed costs typically sit in the low‑to‑mid regional band. Chesapeake’s mixed geography creates a wide spread in estimates: some inland sites are less expensive, while others need deeper bases or subdrains. Virginia Beach has pockets of higher demand and water‑table sensitivity that can push costs above regional averages. Contractors who work regularly in these cities can price projects more accurately because they anticipate permitting timelines and common soil mitigation needs.
Knowing these tendencies helps homeowners compare estimates and ask targeted questions about drainage, compaction, and warranties. The next subsection highlights Suffolk and Williamsburg nuances.
How Do Local Regulations and Soil Conditions Affect Pricing in Suffolk and Williamsburg?
Suffolk can include heavy clay pockets that require deeper base work, increasing excavation and aggregate costs; some neighborhoods also have inspection or erosion‑control rules that add administrative cost. Williamsburg may involve historical‑area permitting or stricter setback rules that influence layout and wall placement, affecting design and price. Both cities may require stormwater documentation depending on scope, so including regulatory needs early in planning avoids surprises. Ask your estimator about expected permit fees and inspection schedules to clarify timeline and budget.
Because local conditions vary, the most reliable approach is an on‑site evaluation; Hampton Roads Irrigation & Landscape offers free estimates and uses local experience to identify city‑specific requirements early, helping homeowners avoid unexpected costs.
Why Choose Professional Installation Over DIY for Your Paver Patio?
Professional installation costs more up front than DIY, but it usually pays off in durability, correct base construction, warranty coverage, and compliance with local codes—reducing long‑term repair costs and liability. Pros bring trained crews, compaction equipment, and project management to coordinate permits, utilities, and subcontractors. Common DIY mistakes—too‑shallow base, poor compaction, missing edge restraints—lead to settling, uneven surfaces, and higher lifecycle costs. Hiring a local expert who knows Hampton Roads soils and water‑table issues typically gives you a more dependable patio with less maintenance over time.
The list below summarizes the labor and quality benefits professionals provide.
What Are the Labor Costs and Benefits of Hiring Local Experts?
Labor rates for professional paver installation are commonly shown in per‑square‑foot quotes and reflect crew experience, productivity, and local wages. Rates vary because they include equipment, crew size, and project complexity. Beyond dollars, professional teams bring speed, technical execution of base and drainage work, correct edge restraint installation, and clean jointing that reduces weeds and movement. Local experts prevent common failures—like inadequate compaction or improper drainage slope—by using best‑practice sequences and the right aggregate gradations. The qualitative benefits—fewer callbacks, greater safety, and warranty support—often justify the labor premium over a patio’s service life.
Those advantages lead naturally to how a local provider ensures quality and customer satisfaction.
How Does Hampton Roads Irrigation & Landscape Ensure Quality and Satisfaction?
Hampton Roads Irrigation & Landscape positions itself as a local hardscaping partner for projects from simple patios to full outdoor living spaces. We focus on local expertise, quality materials, and customer service. Our process starts with diagnosing site conditions—soil type, drainage issues, and water‑table concerns—and building the necessary base and drainage into each estimate so you don’t get surprises later. We back our work with asatisfaction guarantee and use materials chosen for proven durability. Our crews aim to be courteous, efficient, and professional on every job. For homeowners who want a dependable, locally tuned contractor, we offer free estimates and detailed planning to match design goals with realistic budgets and local regulations.
For a precise, site‑specific price and a plan tailored to your yard’s soils and drainage needs, request a free on‑site estimate to compare options and finalize scope with expert guidance.
Frequently Asked Questions
1. What is the best time of year to install a paver patio in Hampton Roads?
Spring and fall are ideal. Temperatures are milder and humidity is lower, which helps materials set and crews work efficiently. Avoid the peak summer heat and the coldest winter days when possible, and plan around seasonal weather to reduce delays.
2. How long does it take to install a paver patio?
Timing depends on size, design complexity, and site conditions. A straightforward, medium‑sized patio (around 400 sq ft) typically takes 2–5 days from excavation to finished surface. Complicated layouts, extensive drainage, or larger areas add time—your contractor can give a more accurate schedule after an on‑site review.
3. Can I install a paver patio myself, or should I hire a professional?
DIY is possible for experienced homeowners, but professionals usually deliver better long‑term results. Pros handle proper base depth, compaction, drainage, and edge restraints—areas where DIYers commonly make mistakes that lead to settling or water problems. If you DIY, be prepared for heavy labor and invest in the right tools and materials.
4. What maintenance is required for paver patios?
Routine maintenance is simple: sweep debris, rinse occasional stains, pull weeds from joints, and reseal the surface every few years if you want to protect color and reduce staining. Address any shifting or settling promptly to avoid larger repairs. Regular upkeep keeps your patio looking good and extends its life.
5. Are there eco-friendly options for paver patios?
Yes. Permeable pavers let water pass through the surface, reducing runoff and helping groundwater recharge—useful in stormwater‑sensitive areas. You can also choose recycled materials or locally sourced stone to lower environmental impact. Talk to your contractor about green options that meet your goals.
6. How do I choose the right material for my paver patio?
Pick material based on budget, aesthetic preference, and site conditions. Concrete pavers are cost‑effective and durable; natural stone offers a premium look at higher cost. Consider maintenance and longevity, view samples, and consult a pro to see how materials perform in our local climate and soils.
7. What should I consider when planning the layout of my paver patio?
Think about how you’ll use the space, traffic flow, and how it ties into existing landscaping. Plan furniture placement, pathways, and features like seating walls or fire pits. Consider sun, shade, and tree roots, and work with a professional to finalize a functional, attractive layout that fits your yard.
Conclusion
Knowing the real costs of paver patios in Hampton Roads helps you make decisions that balance looks and budget. By weighing material choice, site preparation, and local conditions, you can get the best long‑term value from your investment. For project‑specific guidance, request a free on‑site estimate today—let our local team help you design the outdoor space you want, built to last.
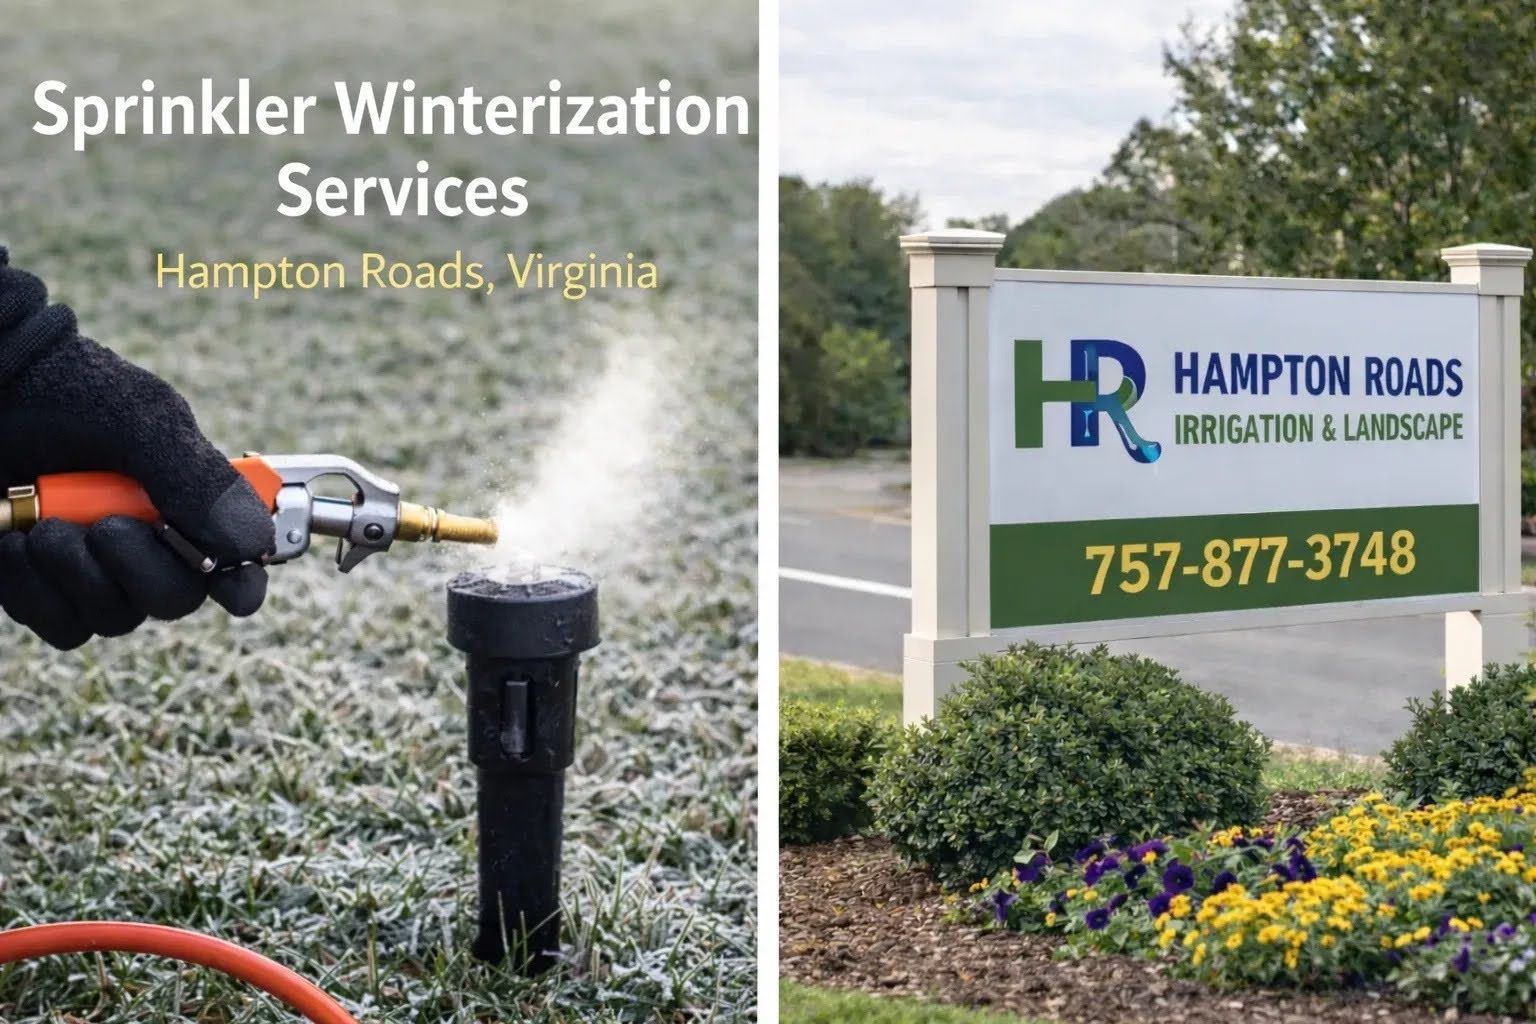
How to Winterize Your Sprinkler System Effectively: Expert Steps for Freeze Protection and Longevity

How to Winterize Your Sprinkler System Effectively: Expert Steps for Freeze Protection and Longevity